 Windows
 How to Tap Threads in a CRL AW1033 & T-Vent Style Window Frame
Learn how to tap clean M4 threads into a CRL AW1033 or T-Vent window frame for a stronger, removable, leak-free camper van window install.
A detailed method for building an accurate cardboard template for a CRL AW1033 awning-style window install, ensuring tight, leak-free cutouts.

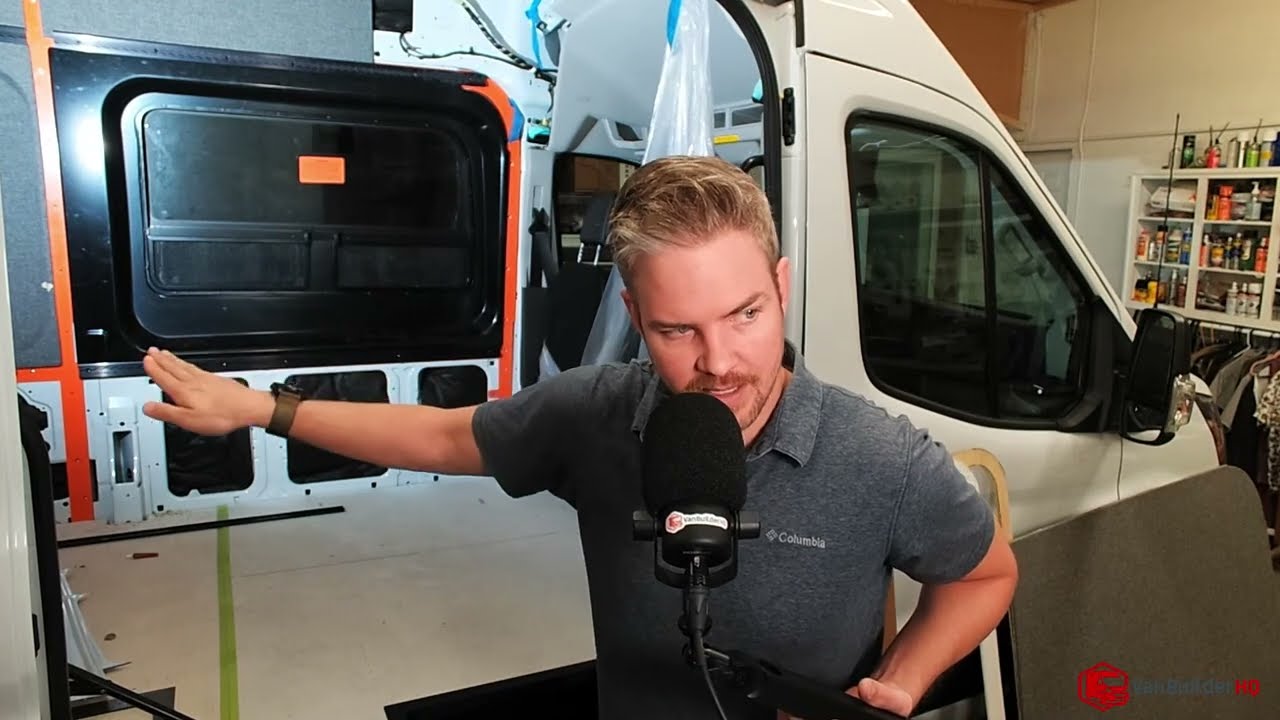
Installing a CRL AW1033 awning-style window in your camper van can be a daunting process—especially if you're trying to avoid leaks, poor seals, or unnecessary stress. In this detailed guide, we'll walk you through how to create a highly accurate cardboard template to simplify your installation. By the end, you'll have a reliable method to replicate the perfect cutout for both sides of your van.
This tutorial is part of our larger van conversion series, and while the full window installation is in a separate video, this guide focuses on building a cardboard template that ensures precise and consistent results.
Before diving into the template process, let's quickly go over why the AW1033 windows are our go-to choice:
This style is ideal for van lifers who camp in a variety of weather conditions.
Many DIYers run into the same problem: the included compression ring flexes and doesn't provide an accurate template. This leads to oversized cutouts, poor gasket compression, and in some cases—leaks at the corners.
That's why we build our own custom cardboard template, directly measured from the window's actual mounting rim, not the flexible inner ring.
To create your window template, gather the following:
Disassemble your CRL shipping box and flatten it. Choose a portion large enough to trace the entire window outline.
Avoid tracing the flexible compression ring—instead, measure the true outer edges of the window's mounting rim, where it will pass through the van's sheet metal.
Recommended Cutout Size (Estimated):
Always verify your own window dimensions!
Use a drywall square to mark and cut straight, right-angle edges on the cardboard. This ensures your template sits level when you trace it onto your van wall.
Lay the window flat on the cardboard. Tape it down on the sides to prevent movement. Use a fine-tip marker to trace the window's outer mounting rim precisely.
Using a fresh razor blade, carefully cut along the outer traced line. This will be your master template.
Pro Tip: "Avoid cutting too much—you can always trim more later, but you can't add material back if your hole is too large."
The most common source of leaks with AW1033 installs? The corners.
To fix this, shave the corners of your template directly while it's taped to the window, using the frame as a guide. This helps you match the tighter radius needed for a good gasket seal.
If your window cutout is too large:
By ensuring tight, accurate cutouts with your template, you'll get:
The included screws with the AW1033 aren't ideal. They tend to bottom out, preventing proper clamping pressure. For a better install:
To finish off your install inside the van, we recommend the Flatline VanCo trim ring, which:
With your cardboard template ready, it's time to:
A proper install starts with a precise template. Don't trust flexible plastic frames or take shortcuts on measuring. A little extra effort during the template stage can save you major headaches—and leaks—later.
This cardboard method ensures you have a repeatable, accurate cutout process for both sides of your van. Whether you're outfitting a single rig or converting multiple vans, this is the foundation for a professional window install.
How to Tap Threads for a CRL AW1033 Window Install
Windows Learn how to tap clean M4 threads into a CRL AW1033 or T-Vent window frame for a stronger, removable, leak-free camper van window install.
 Windows
 A step-by-step guide to installing a CRL T-Vent window in a Ford Transit sliding door for better ventilation and factory-style aesthetics.
 Windows
 A step-by-step CRL T-Vent window install on a Ford Transit with an Adventure Wagon bump-out — measuring, cutting, sealing, and a leak-free finish.
 Windows
 A step-by-step guide to installing a CRL AW1033 awning-style window in a camper van — placement, measurements, framing, and interior layout.