 Windows
 CRL T-Vent Window Install: Ford Transit Slider
A step-by-step guide to installing a CRL T-Vent window in a Ford Transit sliding door for better ventilation and factory-style aesthetics.
A step-by-step CRL T-Vent window install on a Ford Transit with an Adventure Wagon bump-out — measuring, cutting, sealing, and a leak-free finish.
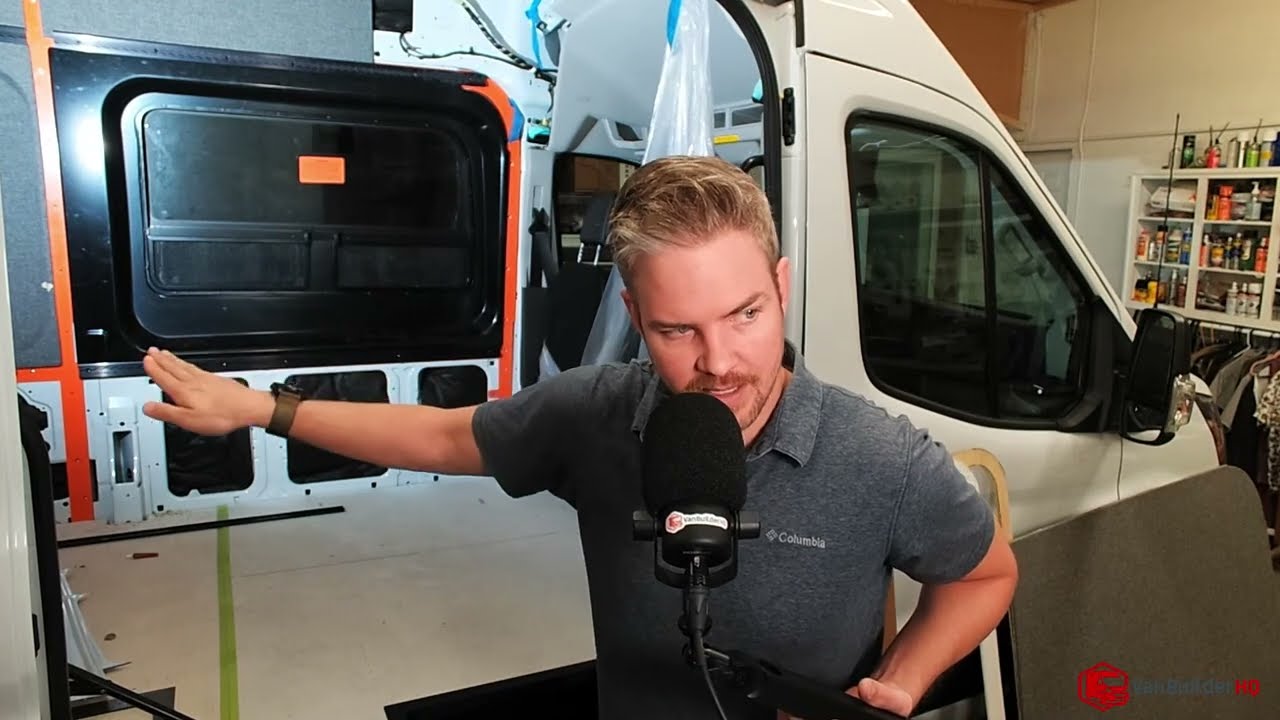
Installing a window in your camper van build can be one of the most intimidating parts of the process—but it doesn't have to be. In this post, we'll walk through a custom CRL T-Vent window install on the driver's side of a Ford Transit, using an Adventure Wagon bump out and a few custom tricks to make the finish look seamless and professional.
Whether you're a first-timer or an experienced van builder, this guide will give you the insight and confidence to tackle this project with precision.
CRL (C.R. Laurence) windows are a popular option in van builds for their clean look and excellent ventilation. The T-Vent style offers a sliding panel with a screened opening—perfect for air flow while keeping bugs out.
For this install, we're using the CRL T-Vent on the driver's side of a Ford Transit, paired with an Adventure Wagon bump out. The goal? Increase usable interior space and add a professionally trimmed window.
Use the box your CRL window came in to trace out the exact frame size. Cut it clean with a razor and use this as your primary template.
Pro Tip: "Don't rely solely on Ford's factory stamp cut lines—they can be up to ¼" too large, which might lead to leaks."
Drill reference holes through the cardboard template from the inside of the van. This helps align the cut from the outside, which is easier for maneuvering the jigsaw.
You'll notice vertical support members made from a harder steel behind the sheet metal. These need to be removed:
Hold the CRL window up using painter's tape to check for alignment and fit.
If needed, make small adjustments:
The Adventure Wagon bump out provides a bit of extra depth, but not enough to transition cleanly to the window frame on its own. We needed to create a custom trim solution to bridge the gap between the window and the bump out.
Note: Marathon fabric used for this was backordered at the time of install—plan accordingly if you want a seamless upholstery finish.
Looking for an organized, Amazon-linked gear list that's been tested in real van builds? Download our DIY Van Build Cheat Sheet with 250+ items across:
Download the free cheat sheet at VanBuilderHQ.com
If you're looking for a custom professional van build by Nick himself, visit OdysseyCustomVans.com. Fill out the contact form, share your vision, and let's chat about your dream van.
Installing a CRL T-Vent window in a Ford Transit isn't as scary as it looks—especially with the right prep, tools, and guidance. From precise templates to trim solutions for bump outs, this guide should set you on the right track for a clean, pro-level finish.
Have questions about your install or upholstery solution? Drop them in the comments or reach out to us through VanBuilderHQ.com—we're always looking for new ideas to turn into future tutorials!
Windows A step-by-step guide to installing a CRL T-Vent window in a Ford Transit sliding door for better ventilation and factory-style aesthetics.
 Windows
 A detailed method for building an accurate cardboard template for a CRL AW1033 awning-style window install, ensuring tight, leak-free cutouts.
 Windows
 A step-by-step guide to installing a CRL AW1033 awning-style window in a camper van — placement, measurements, framing, and interior layout.
 Windows
 Learn how to tap clean M4 threads into a CRL AW1033 or T-Vent window frame for a stronger, removable, leak-free camper van window install.