 Build Guides
 Choosing a Roof Accessories Layout for Your Camper Van
Learn how to plan a functional, safe camper van roof layout covering vent fans, solar panels, roof racks, AC units, awnings, lighting, and wiring.
A step-by-step guide to installing the new version of the Flatline Van Co roof rack on a 2020 Ford Transit Mid-Roof, including faring and solar layout tips.

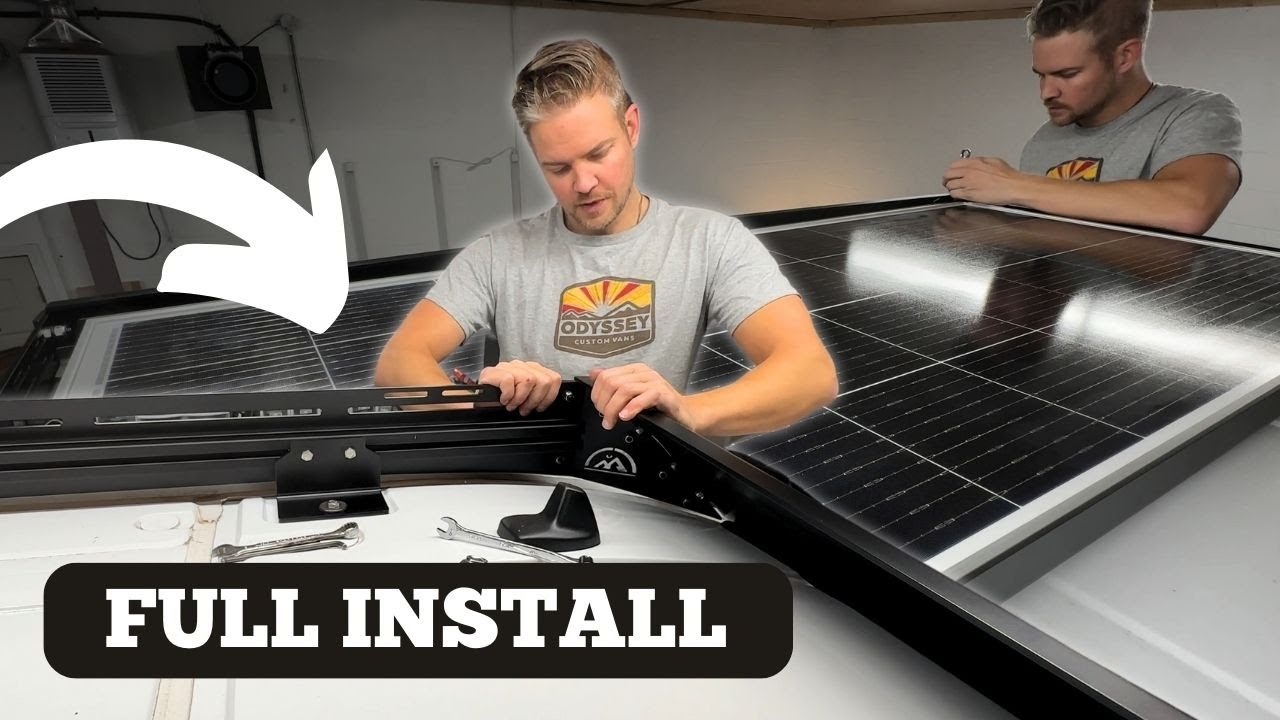
Installing a roof rack on your van isn't just about utility — it's about maximizing space, function, and style. In this detailed guide, we walk through the step-by-step installation of the new version of the Flatline Van Co Roof Rack on a 2020 Ford Transit Mid-Roof. Whether you're gearing up for solar panels, fans, or cargo, this updated roof rack design offers improved features and user-friendly installation for DIY van builders.
This new version features:
The Flatline Van Co roof rack arrives in two separate boxes:
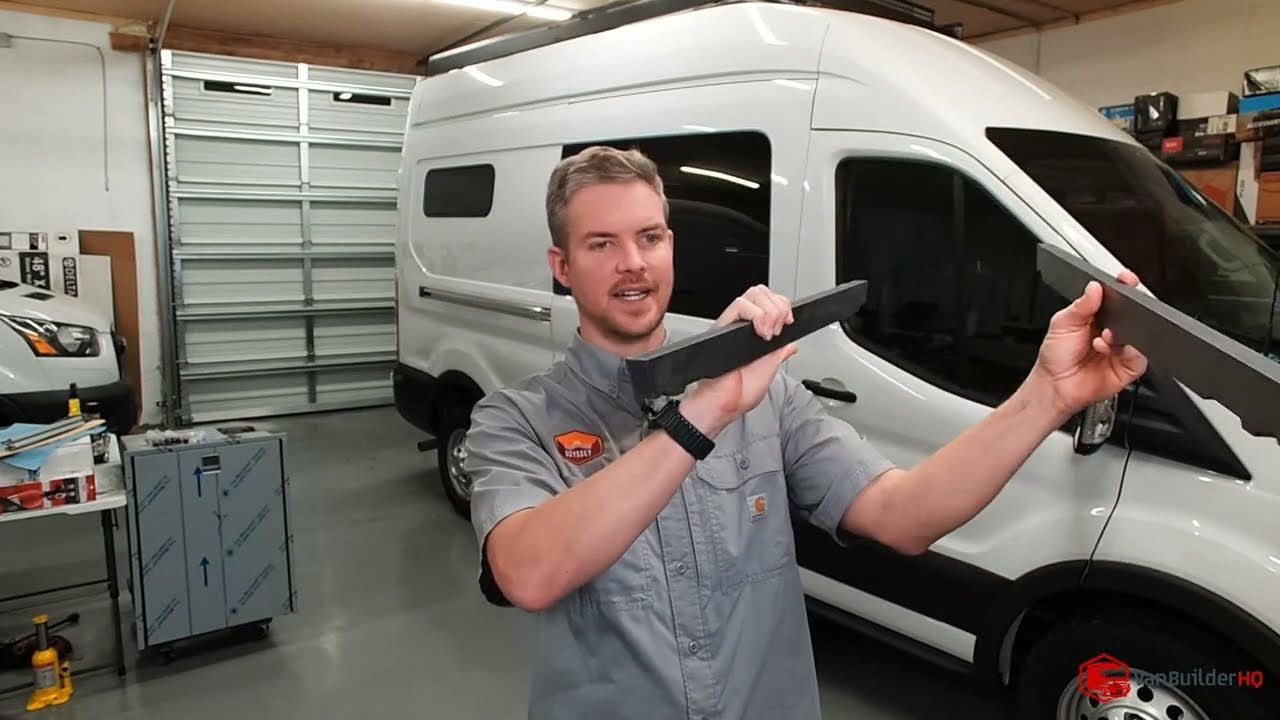
Key components include:
Pro Tip: Leave the rails slightly loose to allow perpendicular alignment when crossbars are inserted.
For Ford Transit Mid-Roof (148″):
Optional brands like Zamp Solar offer longer, slimmer panels for side installation, though they tend to be costlier.
Installing the Flatline Van Co Roof Rack (new version) is approachable for most DIY van builders and can be completed in a day. With thoughtful bracket engineering, built-in adjustability, and a stylish, noise-reducing faring, it's a solid upgrade for your Transit.
We'll be publishing a step-by-step solar panel install next. If you have any questions, drop them in the comments — we're happy to turn them into future videos or blog posts!
Build Guides Learn how to plan a functional, safe camper van roof layout covering vent fans, solar panels, roof racks, AC units, awnings, lighting, and wiring.
 Build Guides
 Installing the solar-ready Unaka Explorist.life roof rack on a Ford Transit — roof prep, rail assembly, wind fairing, and solar panel mounting.
 Build Guides
 A professional-grade walkthrough for installing a MaxxFan Deluxe 7500K roof fan in a Ford Transit using an adapter ring and the Adventure Wagon kit.
 Build Guides
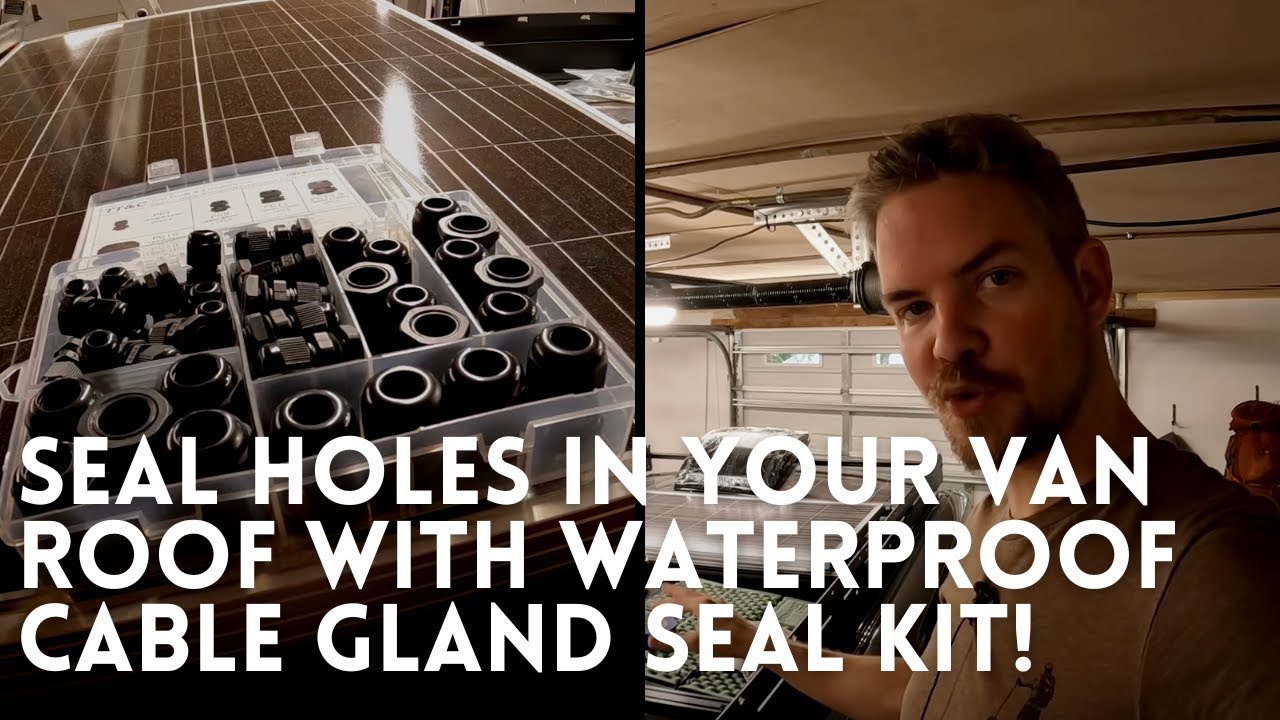
 Learn how to professionally seal camper van roof holes for solar, antenna, and accessory wiring using marine-grade waterproof cable glands.