 Water
Water How to Install a Camper Van Water System Using PEX-A Uponor Fittings
A step-by-step guide to building a reliable camper van water system with cold and hot water, gray tank, and shower hose using PEX-A Uponor fittings.
A real-world PEX-A water system layout for a Ford Transit, showing how each part connects from tank to pump, water heater, faucet, and mixer valve.

Designing your PEX-A water system is one of the most critical—and potentially confusing—parts of a camper van conversion. Whether you're planning for a full indoor kitchen or a simple outdoor wash-down station, a clear layout can help you avoid costly mistakes and ensure your system works smoothly from day one.
In this guide, we'll walk through a real-world PEX-A water system layout for a 2020 Ford Transit medium roof van. You'll see how each component connects—from the water tank to the pump, hot water heater, faucet, and rear mixer valve—so you can confidently build your own system.
PEX-A tubing is a flexible, durable material ideal for camper van plumbing. It handles both hot and cold water, resists freezing and cracking, and is easy to work with—especially in tight van spaces. With the right layout and fittings, it's possible to build a leak-free system that lasts.
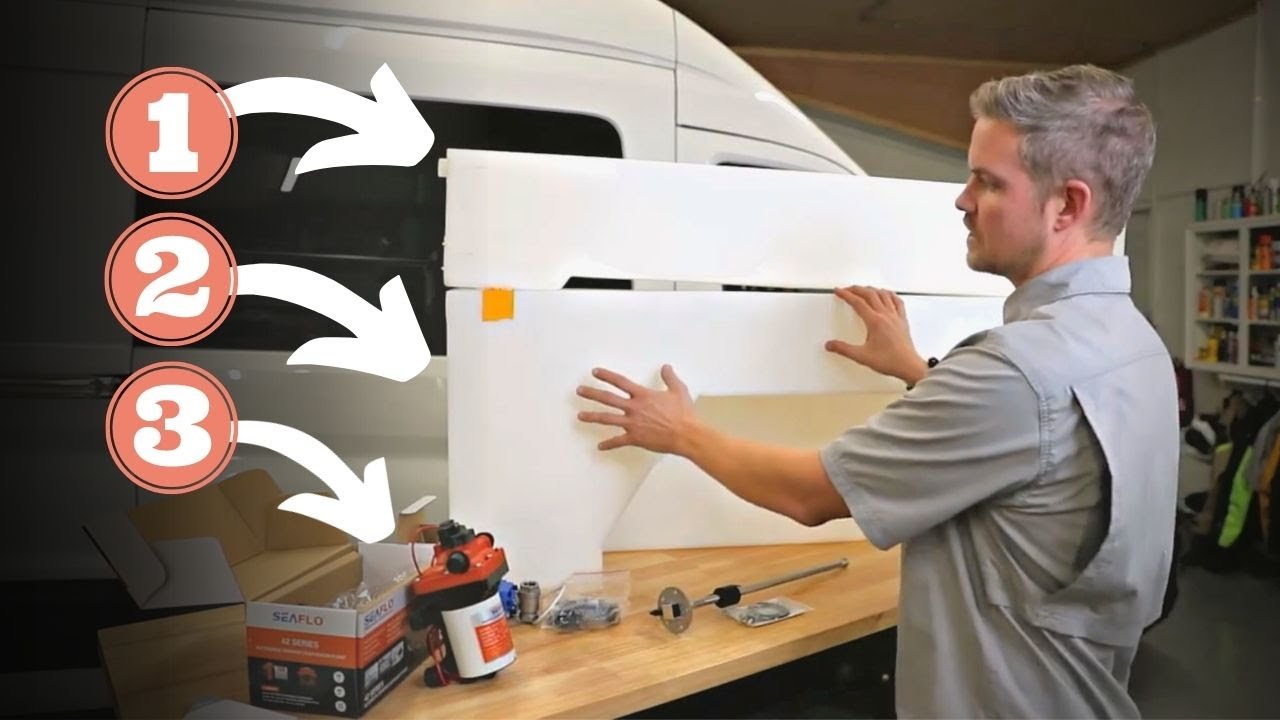
Before starting your layout, gather the essential components:
The water fill starts at the rear Aquaor valve, which connects to a garden hose or RV water hookup. This valve includes a self-sealing spring that prevents backflow and drips—ideal for van life.
From the Aquaor valve, the water goes through a 90° elbow and a PEX-A to ½" threaded adapter. This connects to the fill port on the top of the fresh water tank.
From the bottom of the tank, cold water runs to the water pump. Keep this line under 6 feet in length to maintain optimal pump performance. The pump pressurizes the system and sends water to both the hot water heater and the cold water lines.
After leaving the pump, cold water splits off:
Use PEX tees and elbows as needed to navigate around tanks, shelves, or cabinetry.
Another line from the pump goes into the hot water heater. Heated water exits the heater and splits:
The Scan Devic mixer valve allows hot and cold water to mix before exiting to your rear spray-down hose.
The mixer valve accepts one cold line and one hot line. A third port outputs blended water to the exterior spray nozzle. Be sure to use correct reducers (e.g., 3/8″ to ½") to match your hose and valve sizes.
| Component | Function | Line Type |
|---|---|---|
| Aquaor Valve | Water fill point | Cold |
| Water Tank | Stores fresh water | Cold |
| Water Pump | Pressurizes system | Cold |
| Hot Water Heater | Heats water | Cold In / Hot Out |
| Kitchen Faucet | Provides water for cooking/washing | Hot & Cold |
| Rear Mixer Valve | Outdoor wash-down control | Hot & Cold In / Mixed Out |
Setting up your PEX-A camper van water system can feel overwhelming at first. But once you take the time to lay it out—either on a table or with a sketch—you'll see how each part plays a role. The key is to keep your runs short where it matters (tank to pump), use proper fittings, and plan your branches logically.
With a little patience and planning, you'll have a professional-grade water system ready for all your van adventures.
Need more help? Drop your questions in the comments or check out our installation videos on YouTube. Happy building!
Water A step-by-step guide to building a reliable camper van water system with cold and hot water, gray tank, and shower hose using PEX-A Uponor fittings.
 Water
Water The three essential camper van water system components — fresh water tank, water pump, and gray water tank — and how to choose and size each one.
 Water
Water A step-by-step guide to sanitizing your camper water tank with bleach, including how often to clean it, signs it needs cleaning, and a bleach-free alternative.
 Electrical
 Installing the Diode Dynamics SS3 fog light kit with VanMade Gear brackets on a 2020+ Ford Transit for better visibility and an off-road look.