 Build Guides
 Choosing a Roof Accessories Layout for Your Camper Van
Learn how to plan a functional, safe camper van roof layout covering vent fans, solar panels, roof racks, AC units, awnings, lighting, and wiring.
Learn how to professionally seal camper van roof holes for solar, antenna, and accessory wiring using marine-grade waterproof cable glands.
If you're installing solar panels, antennas, or rooftop accessories on your camper van, you'll eventually need to seal holes in the roof to keep everything watertight. In this guide, we'll walk through how to professionally seal those holes using a waterproof cable gland kit—without compromising your van's roof integrity.
Whether you're rerouting your factory antenna or adding solar panel wires, this process is a must for preventing leaks and maintaining a clean, functional build.
Cutting into your van's roof to run cables can create vulnerabilities. If not properly sealed, those holes can lead to:
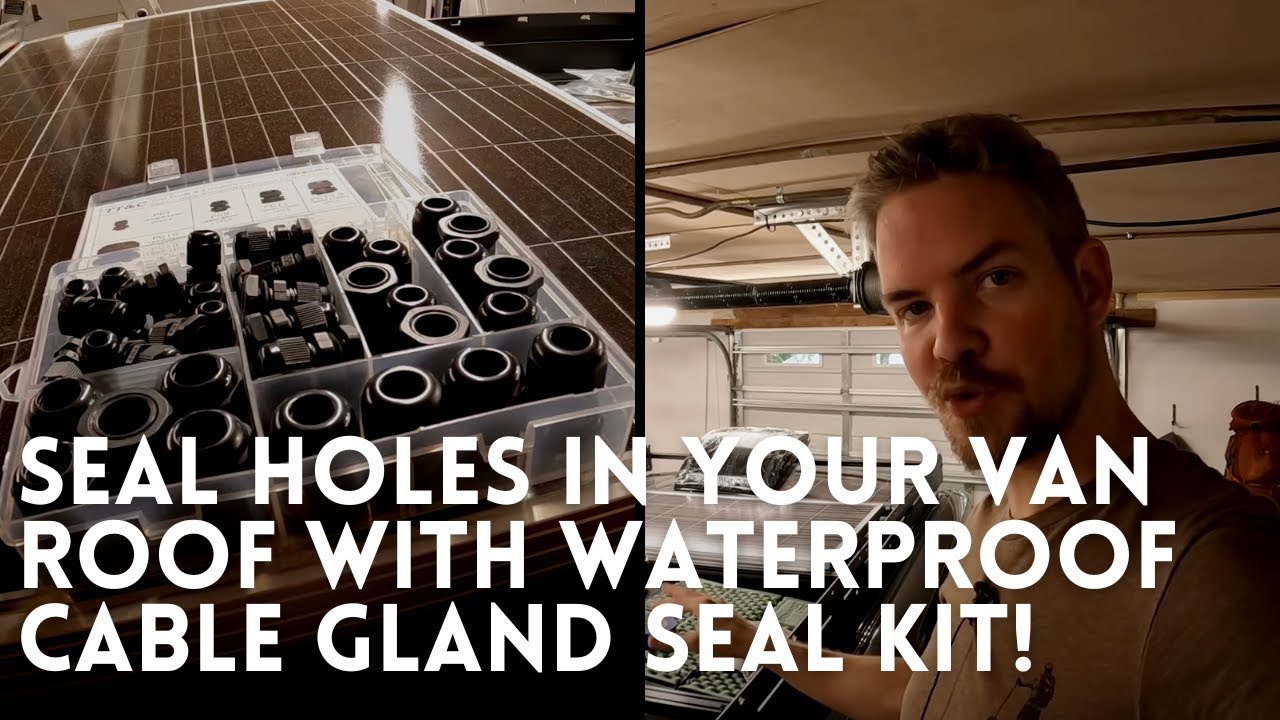
Using "marine-grade waterproof cable glands", like the ones from Scanstrut or Amazon kits, ensures you get a long-lasting, professional-grade seal.
Before drilling anything, identify where your antenna, solar panel wires, or LED light cables will exit the roof. This ensures:
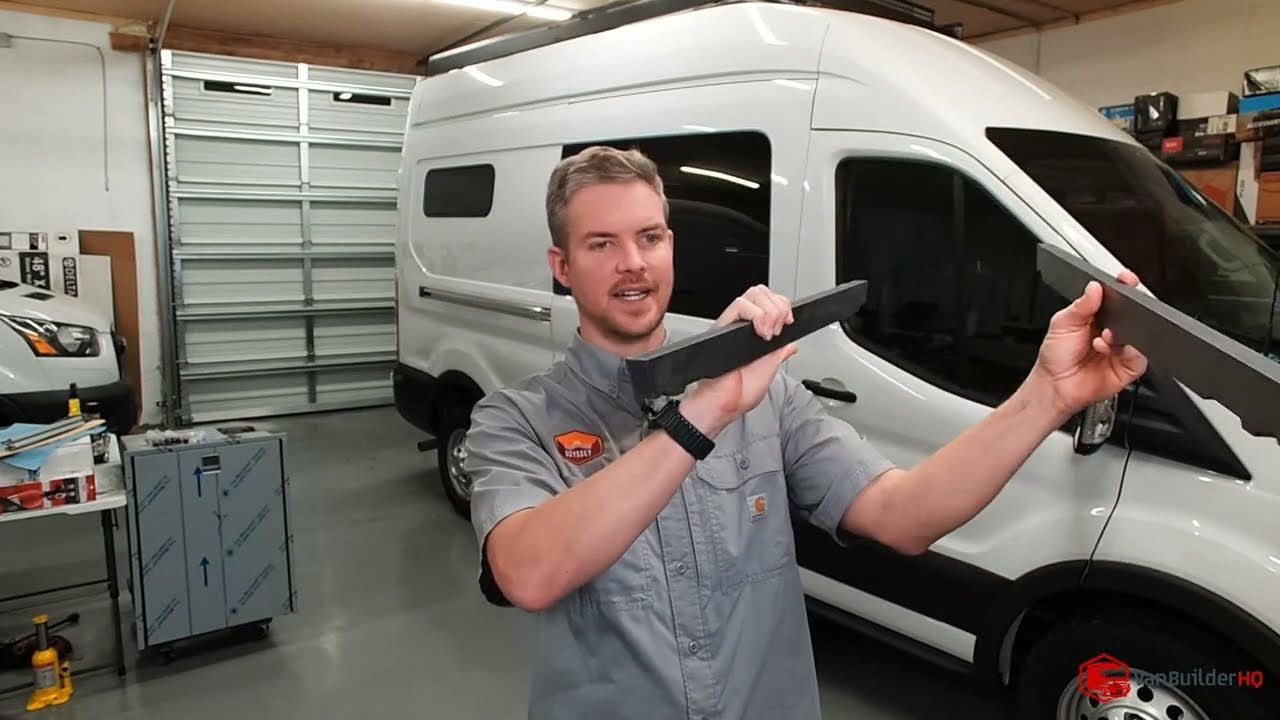
On Thomas's 2020 Ford Transit, for example, the factory antenna location was blocked by a new solar panel, so we relocated it to a better spot with less wind and water exposure.
We used "Scanstrut cable glands"—popular in the marine industry—for this project. These come in both square and round styles and feature:
They're ideal for shielding antenna wires and solar cables from moisture while still looking clean and professional.
When relocating rooftop components (like a satellite antenna), seal the old hole with a waterproof cable gland or a blank plug. In our case:
If the wire has a small gap around it (like with a shielded coaxial cable), fill the void with "liquid rubber" and seal over it with lap sealant for double protection.
Instead of using a large cable pass-through box, we recommend:
This not only keeps your install cleaner, but it also makes it easier to remove or replace individual wires later.
For any other rooftop accessories (like an LED light strip), use the "same waterproof cable gland kit". These kits often come with multiple sizes, so when your light kit arrives, you'll have options for the right cable diameter.
This method allows you to:
| Product | Purpose | Notes |
|---|---|---|
| Scanstrut Cable Seal | Antenna relocation | Marine-grade quality, square and round styles available |
| Amazon Waterproof Cable Gland Kit | Solar wires and light cables | Variety of sizes, compact compression fittings |
| Lap Sealant | Added waterproofing | Ideal for sealing around the outside of glands |
| Liquid Rubber | Internal fill for small gaps | Prevents rattling and water intrusion |
Sealing holes in your camper van roof doesn't need to be complicated. With the right tools and a careful approach, you can install solar wires, antennas, and lighting without sacrificing your van's waterproofing or structural integrity.
This method gives you a neat, professional, and serviceable install, whether you're doing a DIY build or outfitting a customer's van.
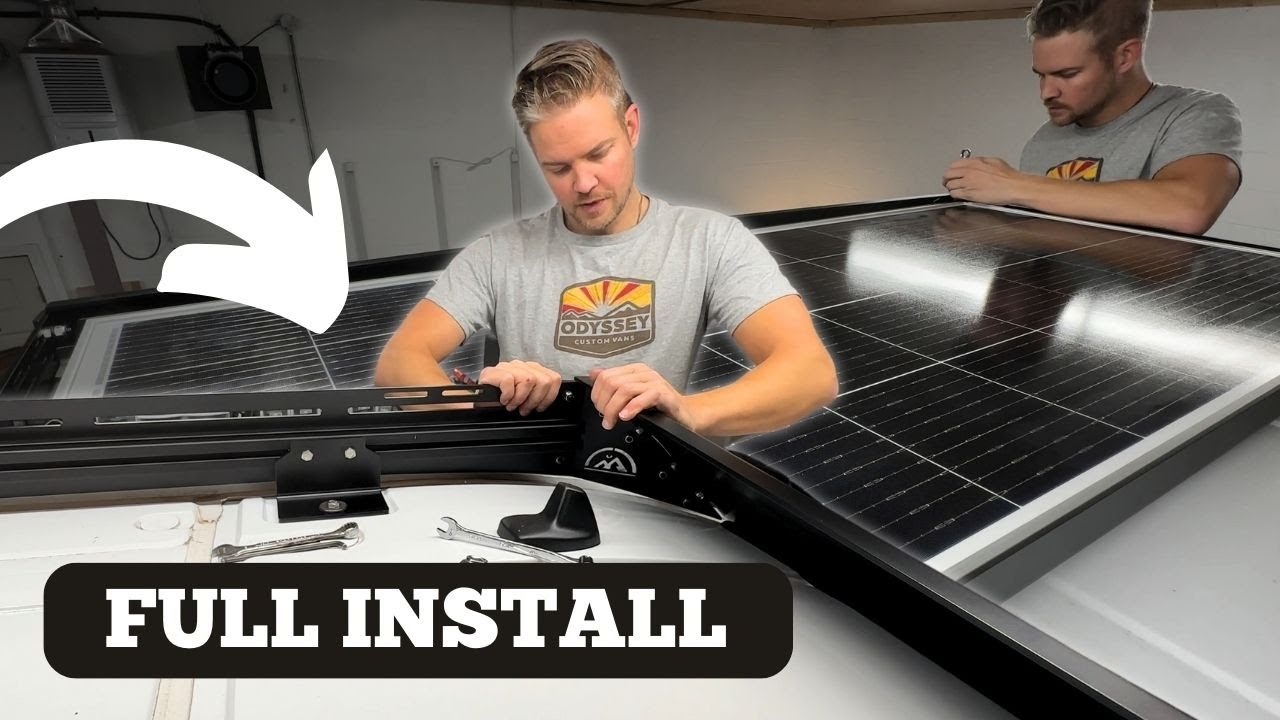
We walk through this exact install on Thomas's 2020 Ford Transit, including antenna relocation, solar cable routing, and how to use individual waterproof glands. Check out the full video for visual step-by-step guidance.
Q: Can I drill one large hole for all my wires instead?
A: You can, but it's not recommended. Smaller, dedicated holes are easier to seal, service, and reduce the risk of roof failure.
Q: What if I need to move the antenna back later?
A: No problem. The plug method we used allows for easy removal and reuse of the factory antenna hole.
Q: Is this method compatible with all van types?
A: Yes, this method works with most vans, including Ford Transit, Sprinter, and Promaster models.
If you have any questions, drop them in the comments or reach out to us directly. Happy building!
Build Guides Learn how to plan a functional, safe camper van roof layout covering vent fans, solar panels, roof racks, AC units, awnings, lighting, and wiring.
 Build Guides
 A step-by-step guide to installing the new version of the Flatline Van Co roof rack on a 2020 Ford Transit Mid-Roof, including faring and solar layout tips.
 Build Guides
 Installing the solar-ready Unaka Explorist.life roof rack on a Ford Transit — roof prep, rail assembly, wind fairing, and solar panel mounting.
 Build Guides
 A step-by-step guide to building a fold-down Murphy bed in a medium roof Ford Transit using 8020 aluminum framing and spring-loaded hinges.