 Build Guides
 Building a Murphy Bed System in a Camper Van: Step-by-Step Guide
A step-by-step guide to building a fold-down Murphy bed in a medium roof Ford Transit using 8020 aluminum framing and spring-loaded hinges.
How to plan a camper van floor layout using the Ford Transit, with tips on in-floor shower pans, flip-and-fold seating, and custom cabinetry.
When it comes to DIY camper van builds, one of the most overlooked—but most critical—steps is planning your floor layout before you start cutting or installing anything. In this post, we'll walk you through how to plan a camper van floor layout using the Ford Transit as our example. You'll get tips from a real-world build that includes in-floor shower pans, flip-and-fold seating, parking heaters, custom cabinetry, and more.
💡 Pro Tip: "Before you drill or cut anything in your floor, make sure you've mocked up your layout with the actual components—or use full-size cardboard cutouts if needed."
Your camper van's floor layout impacts everything: cabinetry fit, electrical and plumbing routes, seating clearances, insulation, and even your ability to access or remove components later.
Whether you're doing a simple build or a high-end conversion with in-floor systems, advance planning will save you time, money, and frustration.
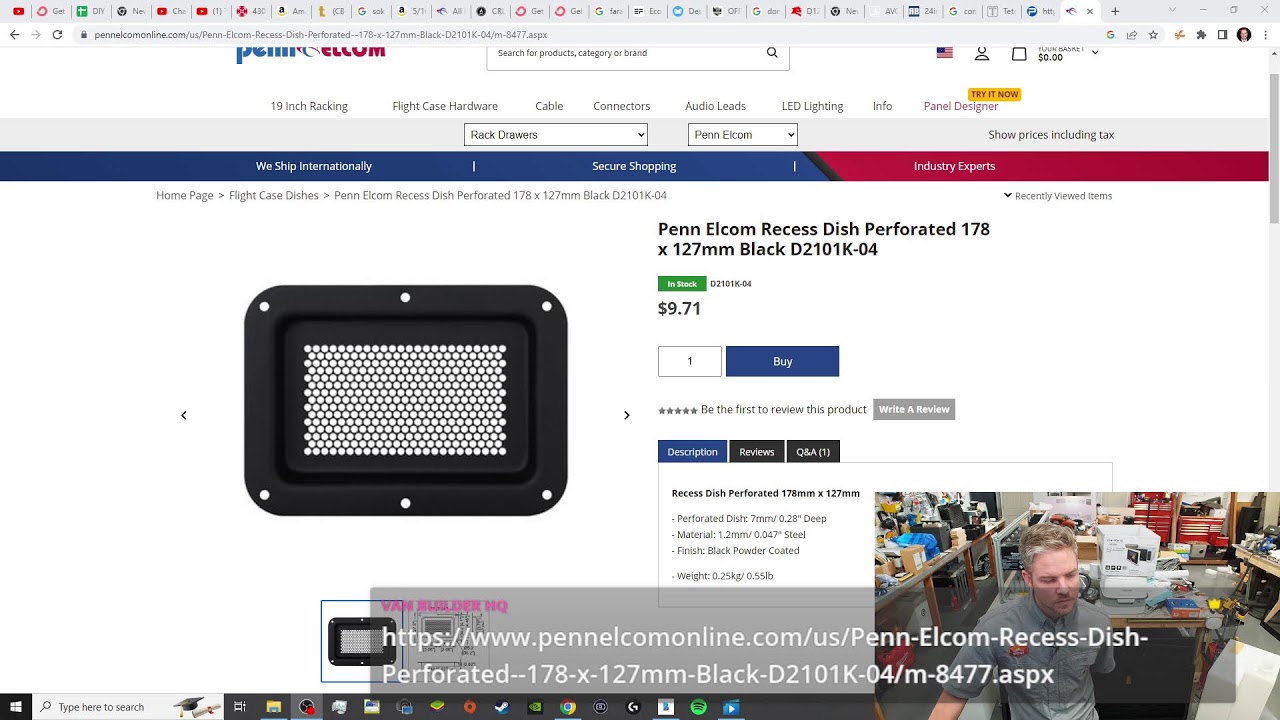
One of the most helpful tools for the layout process was the AVC RIG paper floor pattern kit. This template lets you trace and cut precise plywood panels to match your Ford Transit's floor dimensions.
AVC RIG offers two options:
Using the pattern gave flexibility to customize the layout with components like:
Van walls taper inward as they descend. When mounting components like a kitchen galley:
Mock up your components before final placement using either cardboard or the real item:
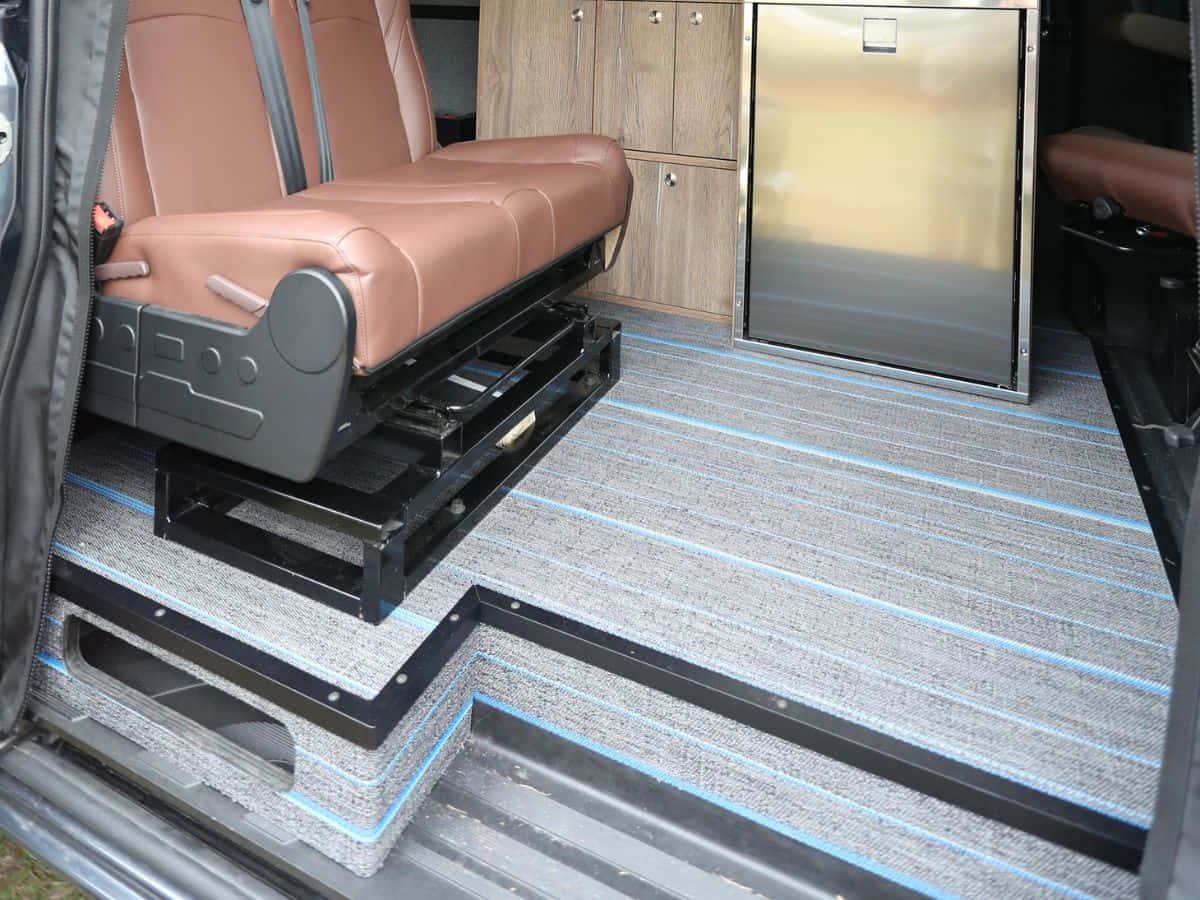
When drilling into the floor for drainage, heater vents, or seat mounts:
Tip: Drill a small 1/8" hole first to inspect below the floor before committing.
Here's how the layout was broken down during the live install:
Picking sides simplifies installation and maintenance. Here's a recommended layout:
Electrical System (Driver's Side):
Water System (Passenger Side):
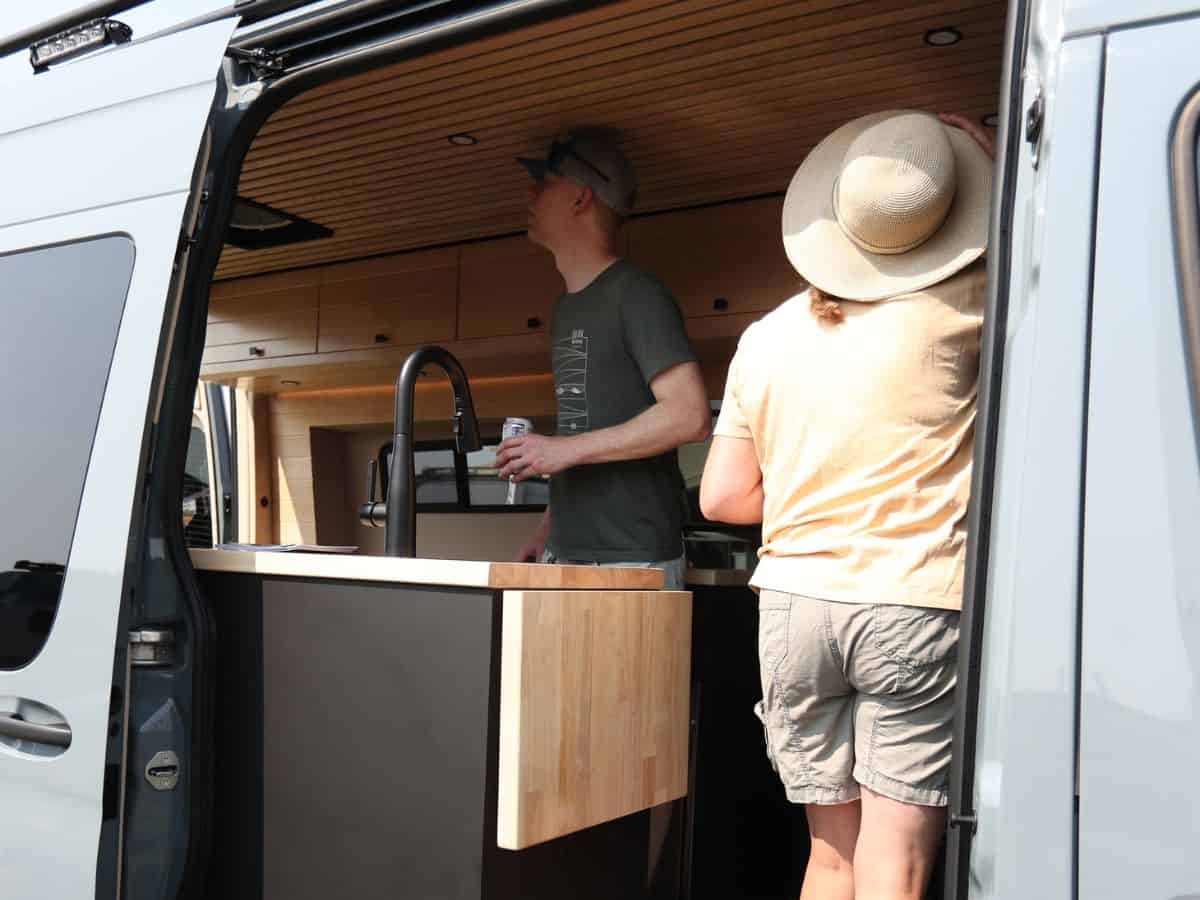
The Isotherm Cruise 130 fridge was modified into a Flatline Van Co. cabinet:
The result was a seamless integration with clean lines and full drawer access.
The VE Bato parking heater was installed near the rear driver-side corner, not under the seat, because:
This tank is recommended for interior installs because it features:
The DIY Van Build Cheat Sheet includes:
Planning your van floor layout in advance makes every future step easier—from insulation to cabinetry to electrical install. Whether you're installing custom systems or using pre-built components, laying everything out ahead of time will help prevent costly mistakes and ensure everything fits and functions as intended.
Take your time, measure twice, and always test-fit before cutting.
Got questions? Drop them in the comments or check out the latest builds and guides at VanBuilderHQ.com.
Build Guides A step-by-step guide to building a fold-down Murphy bed in a medium roof Ford Transit using 8020 aluminum framing and spring-loaded hinges.
 Build Guides
 A guide to adding a stylish floor step or trim to your Ford Transit camper van, covering materials, safety, DIY steps, and pre-made options.
 Build Guides
 A DIY install of a Raptor-style grill, new front bumper, and yellow fog light bulbs to give your Ford Transit a rugged, off-road look.
 Build Guides
 The best camper van countertop ideas ranked by durability, weight, and cost — laminate, bamboo, butcher block, hardwoods, PaperStone, and Corian.