 Build Guides
 Clever Storage Hacks and Solutions for a DIY Van Conversion
Space-saving storage ideas for a camper van: collapsible shelves, hidden showers, under-bed drawers, and decked drawer systems for tight spaces.
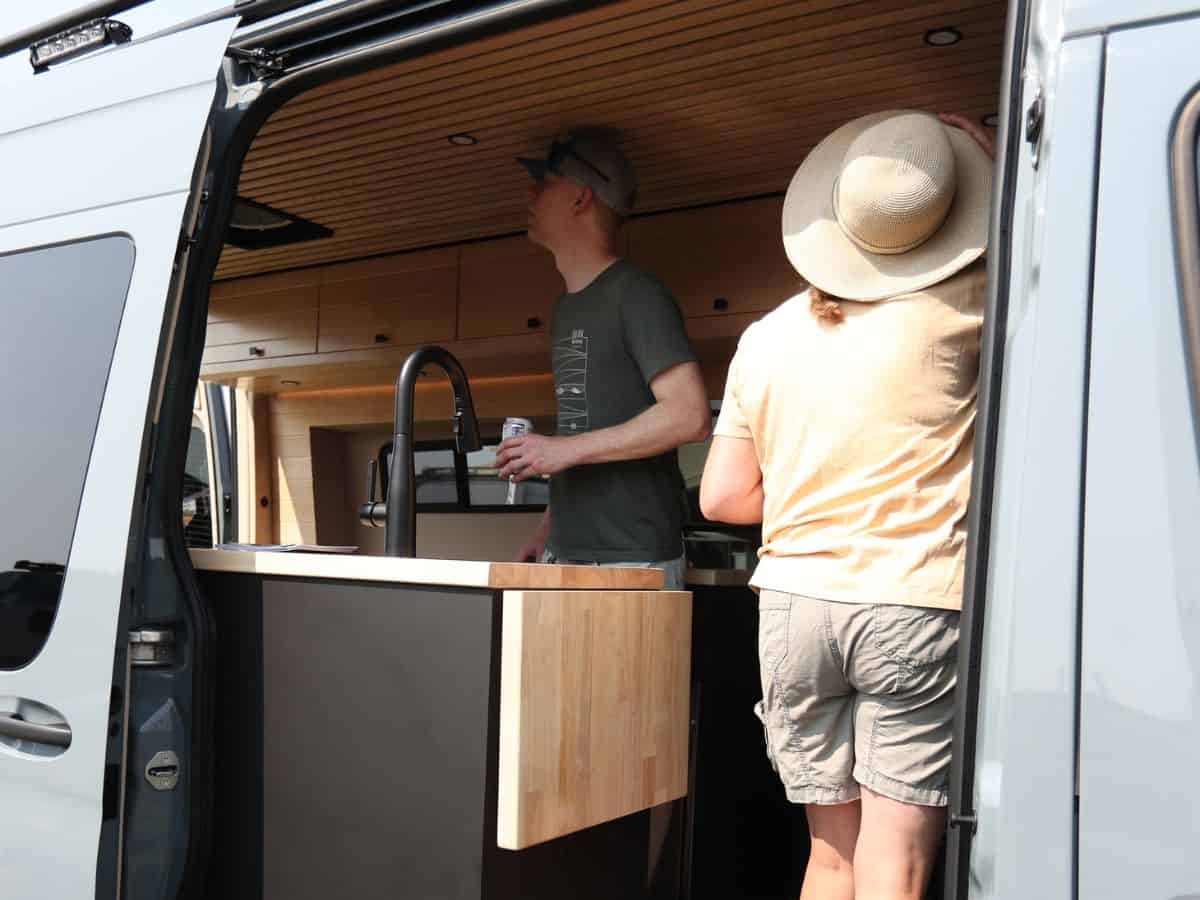
Four top campervan ceiling material choices—wood, fabric, vinyl, and paint—plus what to consider for weight, insulation, durability, and aesthetics in a DIY build.

Designing the perfect campervan ceiling is both an art and a practical decision. From choosing materials that complement your style to making sure your ceiling is durable and easy to maintain, the right ceiling can dramatically enhance your van's interior. Below are four top choices for campervan ceilings, each with unique benefits depending on your needs.
With four successful campervan builds under our belt, we've learned what works and what doesn't. Our experience helps us offer advice that's rooted in practical knowledge, saving you time and potential missteps during your own DIY conversion.

Wood stands out as a top choice for campervan ceilings, and for good reason. It's not just about affordability—wood adds warmth and a welcoming ambiance to your space. Cedar boards, for instance, offer a rich, natural aesthetic and are available at most home improvement stores like Home Depot.

Bamboo Ceiling for camper van from Adventure Wagon
Beyond its visual appeal, wood is also functional. It provides insulation and soundproofing, and if properly sealed, can be resistant to moisture. For those seeking a rustic, cabin-like feel in their van, wood cladding offers a charming, timeless look.
Fabric panels are ideal if you're looking for a quick and customizable solution. Wrapping your ceiling panels in fabric can easily hide any imperfections, making this option great for DIYers. Additionally, fabric offers a wide variety of styles and colors, so you can personalize your van's interior to match your taste.

Fabric Ceiling for camper van from Adventure Wagon
One of the key advantages of fabric is its ability to dampen sound, which is especially useful for those seeking peace and quiet during their travels. Plus, it's relatively inexpensive and easy to install, making it a popular choice among van lifers.
If you want an easy to clean option, vinyl should be at the top of your list. Its smooth surface allows for quick cleaning and maintenance, making it an excellent option for those who use their van for extended trips. Vinyl ceilings also give a modern, streamlined look to the space, ideal for those looking for a sleek design.
This material is also durable, moisture-resistant, and great for full-time travelers who need something low-maintenance yet functional. If you're frequently on the road and want a polished, easy-to-care-for interior, vinyl is a fantastic choice.
No matter which material you choose, painting is always an option to add a personal touch. It's one of the most cost-effective and easiest ways to refresh the look of your ceiling. Painting allows you to be as creative as you want—whether you prefer neutral tones or bold colors, your ceiling becomes a canvas for self-expression.
For those who enjoy artistic freedom, stenciling or using contrasting paint colors can elevate your campervan's ceiling, giving it a one-of-a-kind look that reflects your personality.
Before committing to a ceiling material, there are a few critical factors to consider. Here are the most important ones:
Lightweight materials are important in a campervan to avoid unnecessary strain on your vehicle. Thin plywood, vinyl, and fabric are all great lightweight options. Choosing lighter materials also makes installation easier and helps maintain fuel efficiency on the road.
A well-insulated ceiling can make a huge difference in maintaining a comfortable temperature inside your van. Materials like foam boards or spray foam insulation work well and can easily be installed between the van's ribs before applying the final ceiling layer.
Since your campervan will experience different terrains, bumps, and varying weather conditions, durability is key. Opt for materials that can withstand moisture, wear, and frequent cleaning, such as sealed wood or vinyl. These materials make sure your ceiling lasts through countless adventures.
Your van's ceiling plays a big role in its overall look, so choose a material that fits your style. Wood offers a warm, rustic feel, while vinyl provides a more modern, clean appearance. Think about how you want your van to feel and choose accordingly.
DIY projects should be enjoyable, not stressful. Choose materials that are easy to install and maintain. For instance, fabric panels are a breeze to work with, while wood might require more time and effort. Be sure to follow tutorials or guides to ensure a smooth installation process.
From sleek, modern vinyl to cozy wood cladding, there's no shortage of creative possibilities for your campervan ceiling. For those looking to make the most of their space, consider ceiling storage solutions like overhead cabinets or netting to keep your van clutter-free.
If you're after a unique look, consider installing decorative lighting such as recessed LED lights, fairy lights, or pendant lamps. These lighting options not only brighten your space but add a personal touch to your campervan interior.
When choosing materials for your campervan ceiling, think about how you plan to use your van. Whether you'll be in hot climates, cooking inside, or traveling through cold weather, select materials that meet your specific needs. Remember, your ceiling should not only look good but also serve a functional purpose to make your van life more comfortable and enjoyable.
Build Guides Space-saving storage ideas for a camper van: collapsible shelves, hidden showers, under-bed drawers, and decked drawer systems for tight spaces.
 Build Guides
 The best camper van countertop ideas ranked by durability, weight, and cost — laminate, bamboo, butcher block, hardwoods, PaperStone, and Corian.
 Build Guides
 Installing an aftermarket Raptor-style grille on a 2019 Ford Transit — sourcing, tools, trimming, and a cable-clamp hack for a flush, factory-look fit.
 Build Guides
 Installing the solar-ready Unaka Explorist.life roof rack on a Ford Transit — roof prep, rail assembly, wind fairing, and solar panel mounting.