 Build Guides
 Ford Transit Raptor-Style Grill & Bumper Install
A DIY install of a Raptor-style grill, new front bumper, and yellow fog light bulbs to give your Ford Transit a rugged, off-road look.
Installing an aftermarket Raptor-style grille on a 2019 Ford Transit — sourcing, tools, trimming, and a cable-clamp hack for a flush, factory-look fit.

Looking to upgrade the look of your Ford Transit van? If you're a fan of the aggressive, off-road styling of the Ford Raptor, you'll love this modification: a Ford Raptor-style grille installed on a 2019 Ford Transit.
In this guide, the author walks through the exact installation process for a Raptor-style grille on a Transit van, covering where to purchase it, necessary tools, installation techniques, and common pitfalls.
Yes. Although this grille isn't directly available in the U.S., the author sourced one from the U.K. via eBay using Planet Express, a third-party shipping service that purchases items internationally and forwards them domestically.
Remove the black plastic caps atop the factory grille. Unscrew the three bolts along the top. Use a bent-tip tool to carefully disengage the plastic clips securing the grille. Exercise patience—these clips break easily.
The bottom features approximately eight additional clips requiring removal. If any break, auto parts retailers typically stock assorted clip kits.
After removing the original grille, test-fit your Raptor-style grille. Apply painter's tape to mark contact points. This guards your paint and helps determine where modifications are necessary.
You'll likely need to trim several plastic tabs from the new grille for flush fitting—particularly along the bottom edge and near the air duct.
Employ an oscillating multi-tool to trim interfering plastic tabs. Avoid cutting into your radiator or oil cooler. The author removed three plastic tabs behind the grille preventing proper seating.
Trim minimally and frequently check fitment. Some nibs near the bottom required removal, and certain tabs needed minor reshaping for flush installation.
After trimming, gently position the grille in place. Reinstall the top three screws. If certain clips fail to seat properly (especially at corners), this is typical for aftermarket grilles not designed as perfect plug-and-play components.
Zip ties or the cable clamp method work well. This approach secures the grille without drilling directly into the van.
For grilles not fully clicking into place, this workaround helps:
This technique compensates for the minor curve difference between the Transit's hood and the new grille.
The Raptor-style grille features mostly straight lines, while the Ford Transit hood has more pronounced curvature. Consequently, the top corners might not click perfectly. Deploy a couple of zip ties or clamps behind the grille to pull it flush.
The outcome is aggressive and distinctive—fundamentally transforming your Transit's front appearance.
Yes. U.K. models include a locking mechanism cutout, but U.S. versions lack this feature. Hood opening remains unaffected. This space could accommodate a front-mounted camera modification.
Installing a Ford Raptor-style grille represents an achievable weekend project elevating your Transit build. While not a true plug-and-play installation, careful trimming and basic tools yield excellent results and striking aesthetics.
Readers with questions about the installation or sourcing guidance should leave comments below.
Build Guides A DIY install of a Raptor-style grill, new front bumper, and yellow fog light bulbs to give your Ford Transit a rugged, off-road look.
 Build Guides
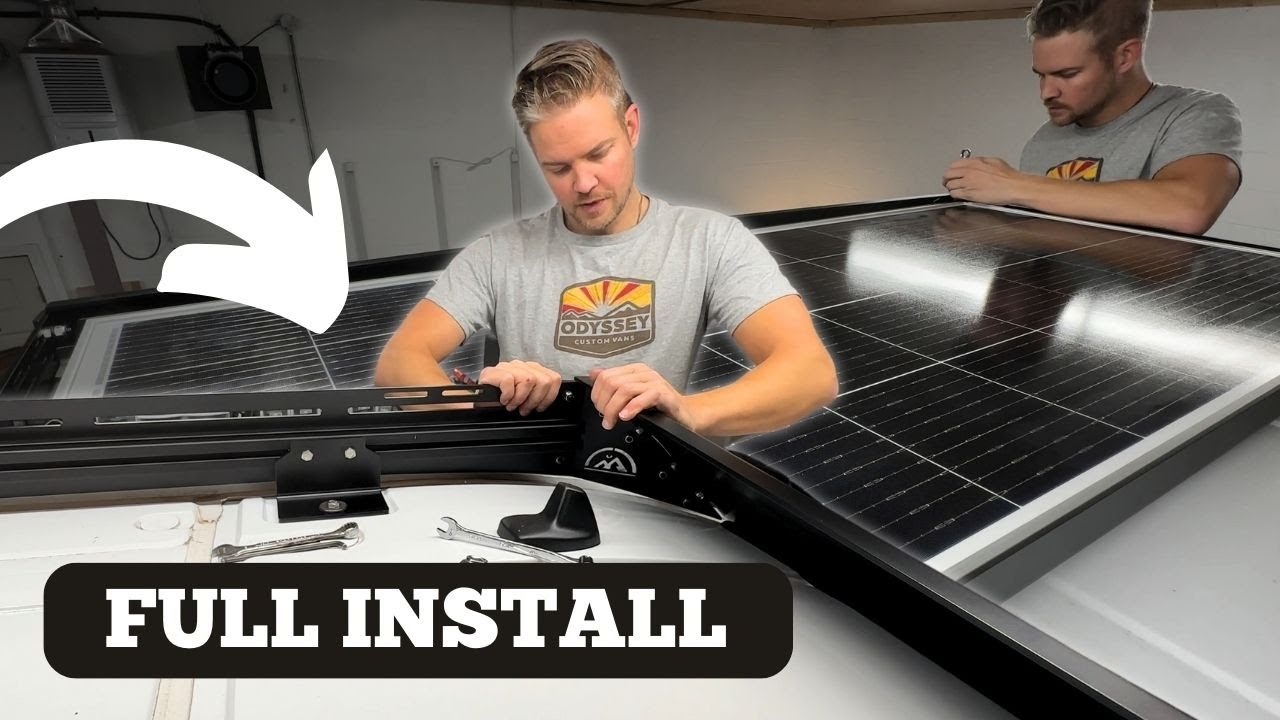
 Installing the solar-ready Unaka Explorist.life roof rack on a Ford Transit — roof prep, rail assembly, wind fairing, and solar panel mounting.
 Build Guides
 Four top campervan ceiling material choices—wood, fabric, vinyl, and paint—plus what to consider for weight, insulation, durability, and aesthetics in a DIY build.
 Build Guides
 A step-by-step guide to building a fold-down Murphy bed in a medium roof Ford Transit using 8020 aluminum framing and spring-loaded hinges.