 Build Guides
 Choosing a Roof Accessories Layout for Your Camper Van
Learn how to plan a functional, safe camper van roof layout covering vent fans, solar panels, roof racks, AC units, awnings, lighting, and wiring.
Installing the solar-ready Unaka Explorist.life roof rack on a Ford Transit — roof prep, rail assembly, wind fairing, and solar panel mounting.
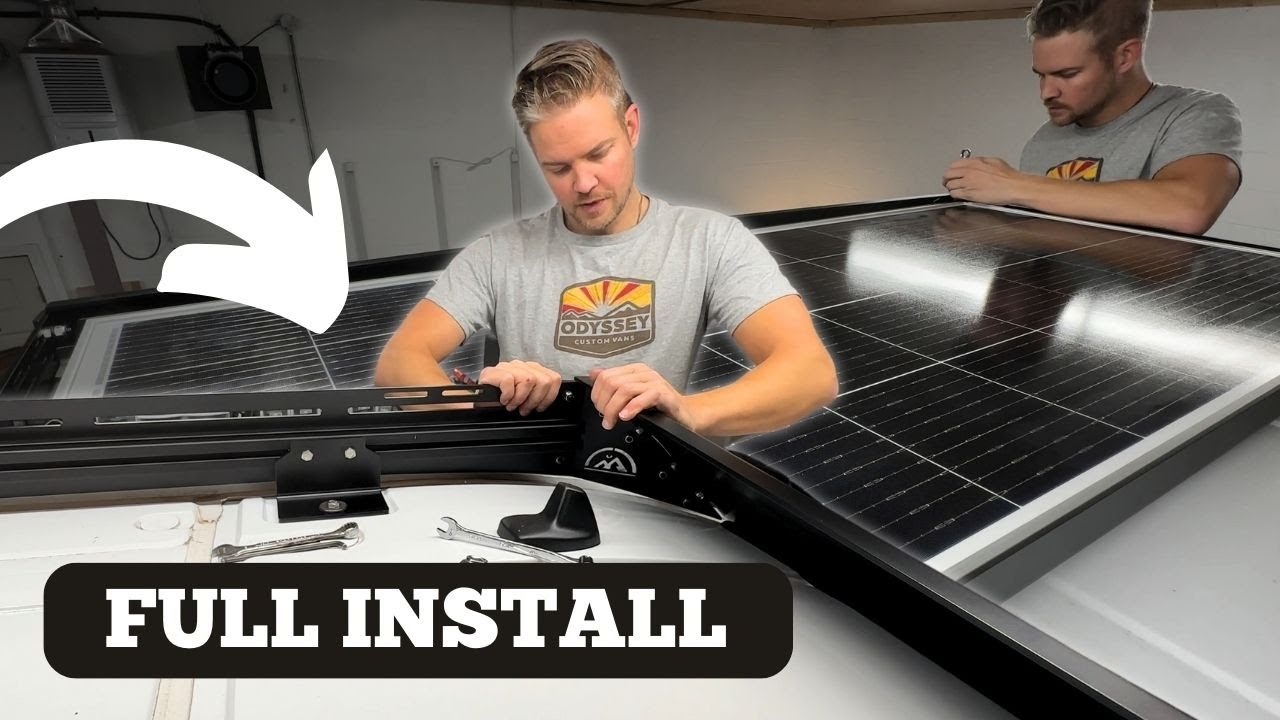
Installing a roof rack represents one of the most valuable upgrades for your van—particularly when utilizing the Unaka Explorist.life Edition Roof Rack, a precision-engineered system designed for solar integration, storage, and rugged travel. This comprehensive guide walks through the complete installation process, from roof preparation to solar panel mounting, based on a real-world installation experience.
The Ford Transit includes eight factory-threaded mounting points on the roof. Use a razor blade to score the paint around the plastic caps, then apply heat to soften the adhesive and gently lift each cap with plastic tools.
Once exposed, clean each hole with denatured alcohol and apply rust preventative around the metal. If the threaded hole is misaligned, carefully use a Dremel to widen the opening.
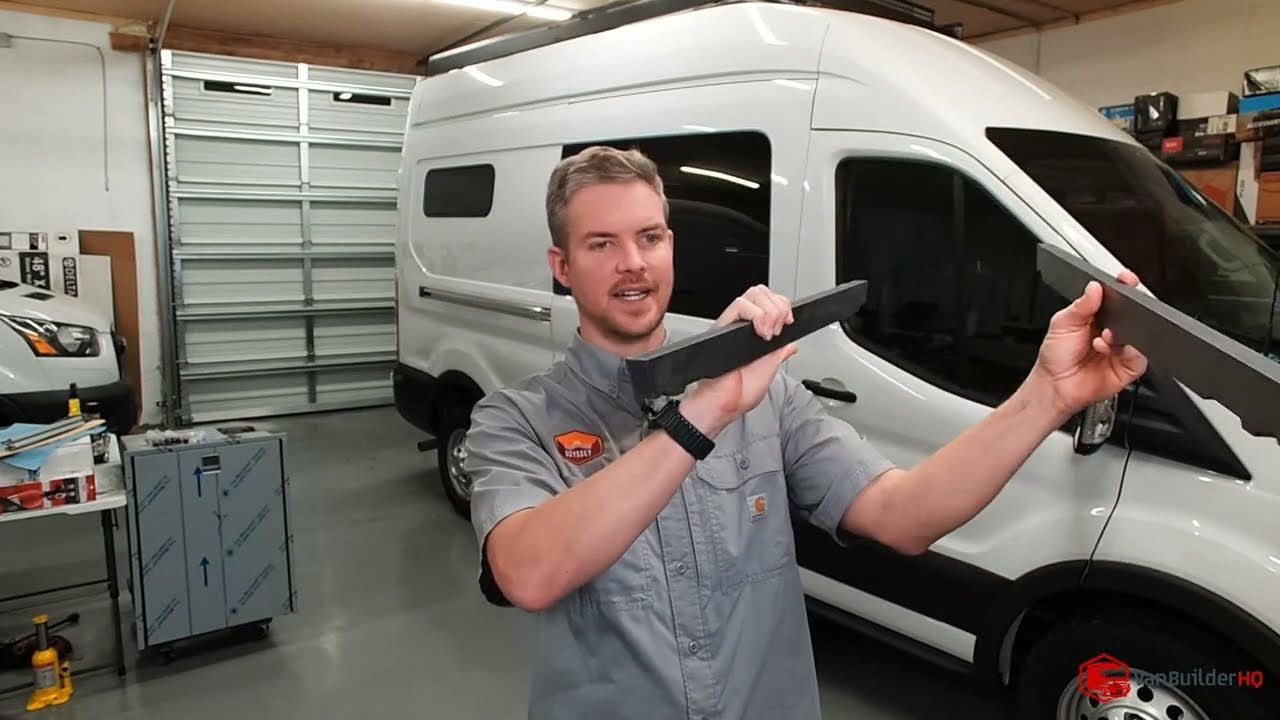
The longer 80/20 rails go toward the front, and the shorter ones go toward the back. Use the included hardware to attach the side support plates to each rail.
Refer to the PDF guide from Unaka to mark the location of each mounting foot. Use a tape measure and permanent marker to mark exact points before setting anything on the roof.
Use black RTV sealant around each mount hole. Position the rail feet and bolt them into place using the rubber-backed bolts provided. Only fully tighten once everything is aligned and flush.
Pro tip: Hand-tighten during initial fitment and only fully torque down once everything is square.
The wind fairing minimizes wind noise and improves aerodynamics.
Watch for sharp edges while tightening—gloves recommended!
The system is designed for:
Unaka's thoughtful design allows the panel to slide over bolt heads thanks to channel cutouts.
This represents one of the most precise and smooth installs completed. Everything from the pre-drilled brackets to the crossbar fitment felt tailor-made for the Transit.
Grab the DIY Van Build Cheat Sheet—a searchable list of 250+ tools and components used for every van build. It's free and available at VanBuilderHQ.com, or click the link in the video description to download.
The Unaka Explorist.life Roof Rack stands as one of the best-engineered systems installed on a Ford Transit. It's sturdy, solar-ready, modular, and installs with high precision.
For questions, drop them in the comments. Check out the three-part livestream series for deeper walkthroughs of each phase.
If you found this helpful, share this guide, subscribe for future DIY content, and download your free build checklist.
Happy building!
Build Guides Learn how to plan a functional, safe camper van roof layout covering vent fans, solar panels, roof racks, AC units, awnings, lighting, and wiring.
 Build Guides
 A step-by-step guide to installing the new version of the Flatline Van Co roof rack on a 2020 Ford Transit Mid-Roof, including faring and solar layout tips.
 Build Guides
 Installing an aftermarket Raptor-style grille on a 2019 Ford Transit — sourcing, tools, trimming, and a cable-clamp hack for a flush, factory-look fit.
 Build Guides
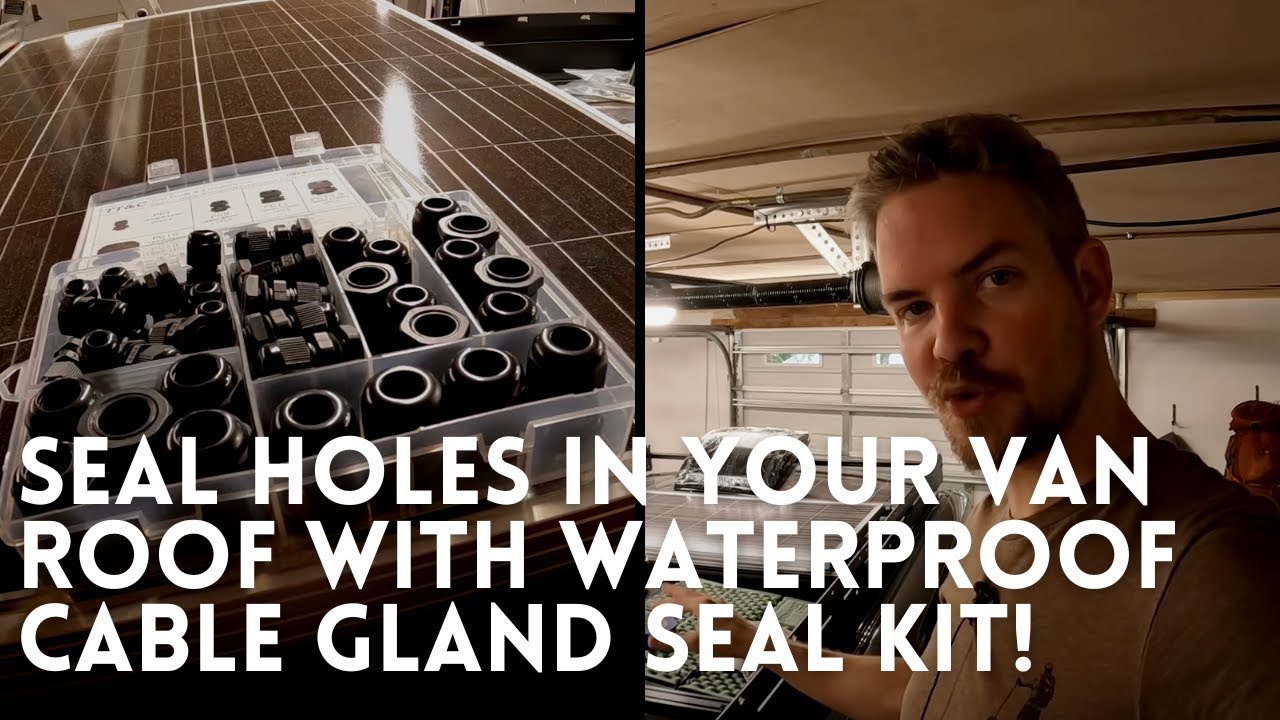
 Learn how to professionally seal camper van roof holes for solar, antenna, and accessory wiring using marine-grade waterproof cable glands.