 Windows
 CRL AW1033 Window Template for Campervan Installs
A detailed method for building an accurate cardboard template for a CRL AW1033 awning-style window install, ensuring tight, leak-free cutouts.
A step-by-step guide to installing a CRL AW1033 awning-style window in a camper van — placement, measurements, framing, and interior layout.

Installing a window in your camper van is one of the most rewarding—and nerve-racking—parts of a DIY van build. In this guide, we'll walk you through how to install a CRL AW1033 awning-style window the right way, focusing on window placement, measurements, framing, and considerations for your interior layout.
Whether you're planning around a bed frame, storing bikes, or just trying to get your wall panels flush, this guide will help you avoid costly mistakes and give your van a professional finish.
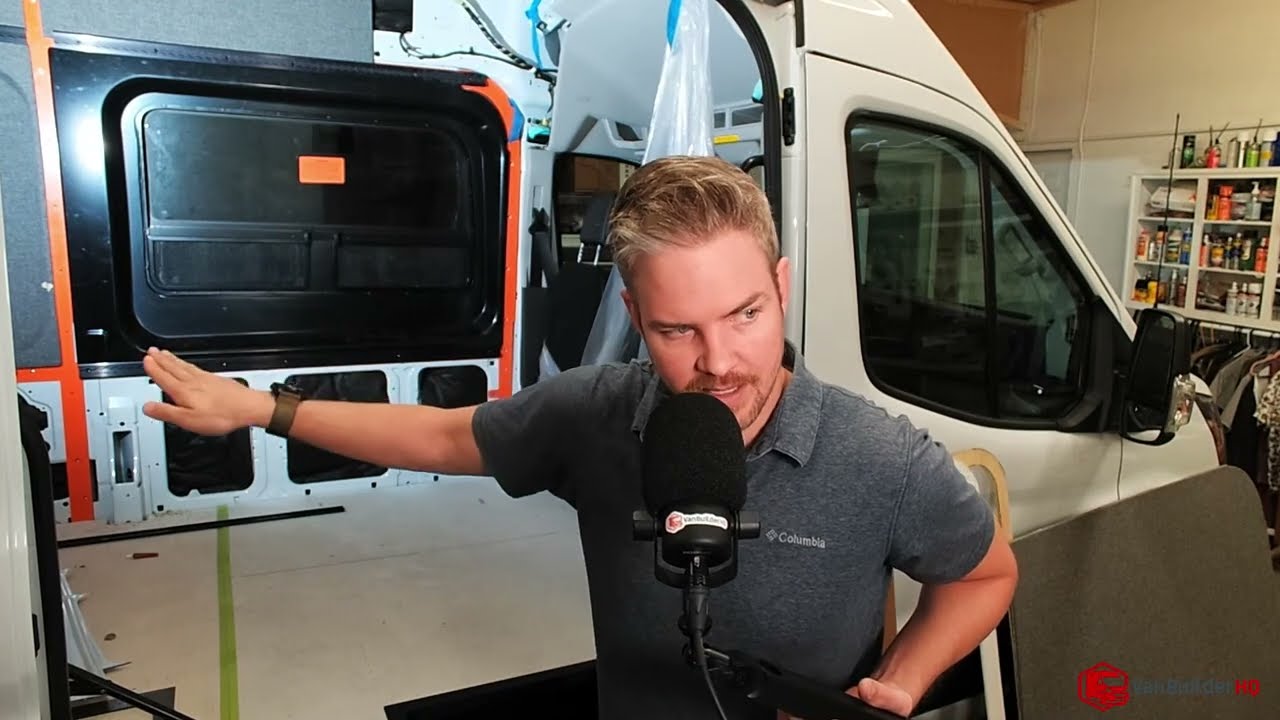
Start by planning where the window should go. In this example, the focus is on the rear of the van—perfect for bunk windows.
Use a cardboard template to mock the placement and trace your cut lines. Don't rush—spend extra time on one side and mirror it to the other when you're confident.
Once you've determined the maximum height for your window, use an aluminum spacer to create about 1/8" of clearance. This accounts for the thickness of fabric or upholstery and ensures a clean fit later.
This is the fixed top position for your window—once the hole is cut, there's no adjusting. Make sure you're satisfied with the vertical placement before continuing.
Here's a simple breakdown of how to factor in your garage, frame, and mattress:
| Component | Measurement |
|---|---|
| Total height (floor to window) | 44 inches |
| Bike storage (garage space) | 36 inches |
| Bed frame thickness | 2 inches |
| Mattress thickness | 6 inches |
Pro tip: You may need to adjust your mattress thickness or frame material (e.g., switch to 1″ tubing) if you add subfloor layers or insulation.
To mount your window flush with the interior wall panel, create a foam or wood "window pill" frame:
This frame acts as a trim ring and should not be considered structural—it's there to provide a clean transition and mounting surface.
Once the inner template is placed and centered:
This method ensures your cut is mirrored accurately from the inside to the outside.
Before you cut, mask off the exterior around your traced line. Use a grinder with a cutoff wheel to remove structural beams before using your jigsaw. It's extremely difficult to cut metal van supports with a jigsaw alone.
Once the structural parts are cleared, use your jigsaw to cut along the marked line.
Before you install the window:
Want to save time and money on tools and materials?
Download the free DIY Van Build Cheat Sheet featuring over 250+ curated Amazon items, including:
It's free and sent straight to your inbox—perfect for beginner or advanced builders.
Installing a CRL AW1033 window isn't just about cutting a hole in your van. It's about smart planning, precision measuring, and thinking three steps ahead. The window's position affects your sleeping setup, your storage space, and even your van's exterior appearance.
By following this guide and using a template + spacer method, you can install your window with confidence and avoid common DIY pitfalls.
Need Help With Your Install? Leave a comment on the video or join us on a livestream Q&A. Subscribe for more van build tips and walkthroughs.
Windows A detailed method for building an accurate cardboard template for a CRL AW1033 awning-style window install, ensuring tight, leak-free cutouts.
 Windows
 A step-by-step CRL T-Vent window install on a Ford Transit with an Adventure Wagon bump-out — measuring, cutting, sealing, and a leak-free finish.
 Windows
 A step-by-step guide to installing a CRL T-Vent window in a Ford Transit sliding door for better ventilation and factory-style aesthetics.
 Windows
 Learn how to tap clean M4 threads into a CRL AW1033 or T-Vent window frame for a stronger, removable, leak-free camper van window install.